
Thunderbird
Mozilla Thunderbird: version 38
You can always get a clean version of the software here, at the official Mozilla Thunderbird site.
In this example, we will be configuring an IMAP e-mail for the fictional account “myaccount@sequimbay.net”
The email address is myaccount@sequimbay.net
Configuration settings:
User name: myaccount@sequimbay.net
IMAP (IN) mail.nikola.com on port 993
SMTP (OUT) mail.nikola.com on port 465
When you start Thunderbird for the first time, the NEW EMAIL ADDRESS dialog box opens, see Figure 1. You will prompted to create a new account, we will skip the free sponsored account, and select SKIP THIS AND USE MY EXISTING EMAIL located at the bottom left of the dialogue box.
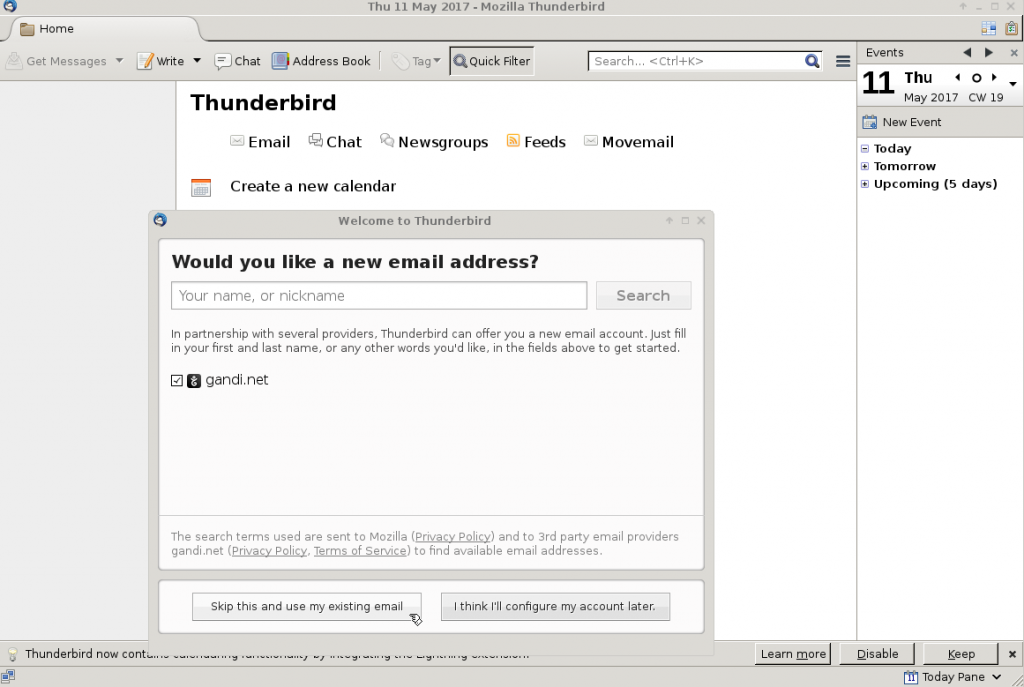
Figure 1: Click “Skip this and use my existing email” to begin.
Now, enter your account settings, as is demonstrated below in Figure 2: The ‘Your Name‘ field can be anything you like, but this is the name that others will see when you send e-mail.
Make sure to include your full e-mail address in both the Email Address field, and the incoming/outgoing Username field. The mailserver will refuse to authenticate you if you do not use the full address.
Imap mail retrieval is on port 993, Pop3 retrieval uses port 995, both types use encryption.
Double check that you have entered the values correctly, then click on ‘Test‘ and ‘Done‘ to finish setting up the account
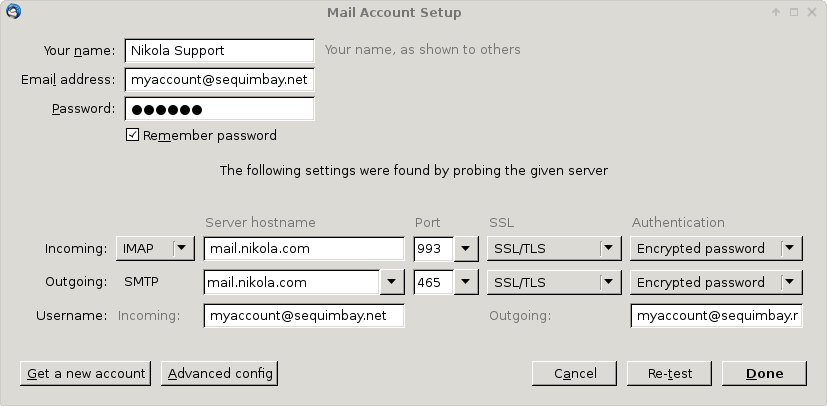
Figure 2: Entering e-mail settings for a new Nikola Broadband Thunderbird account. Click on the image to enlarge.
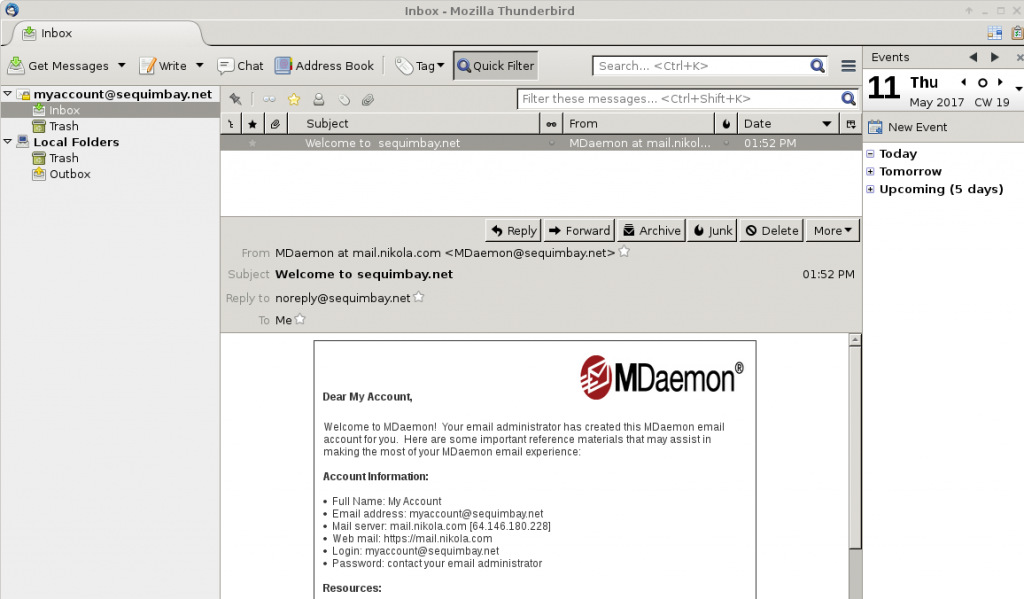
Figure 3: Logging into your email account
Importing your address book.
Most people will want to import their existing address book or contact list before really getting going with Thunderbird. Fortunately, this is fairly straightforward, and only requires a few more steps.
Click on the Address Book button as shown in figure 4
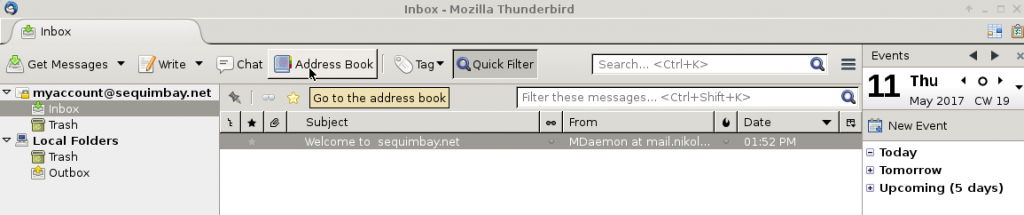
Figure 4
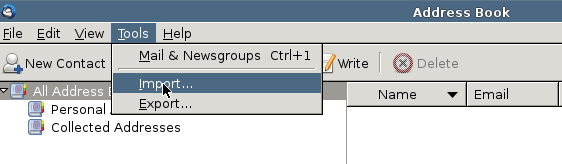
Figure 5
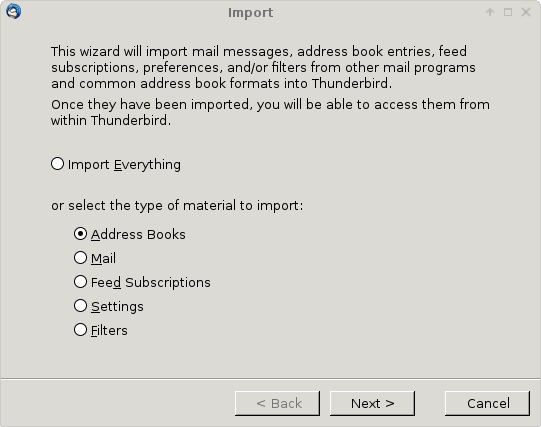 Figure 6

Figure 7
Click ‘Next’ to import your address book or contact information.
Tip: To enlarge the picture click the image and then press the BACK button on your browser to return to the directions