
Windows 10 Mail
Windows 10 Mail is currently capable of using our auto-configuration assistance framework.
All you should have to do is supply your mailbox name, display name, and a valid password for the account.
If you have an existing account using the Windows 10 mail app, but it is not currently working, please skip to the bottom of the page to verify your mail settings match those shown.
When you start the app the first time, the interface may look like this:
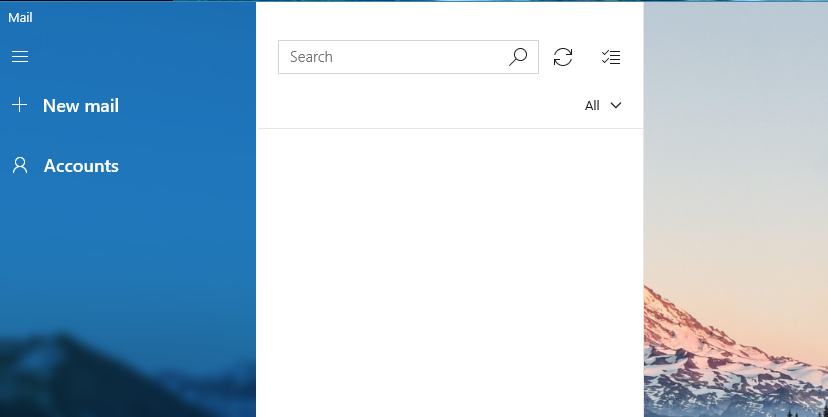
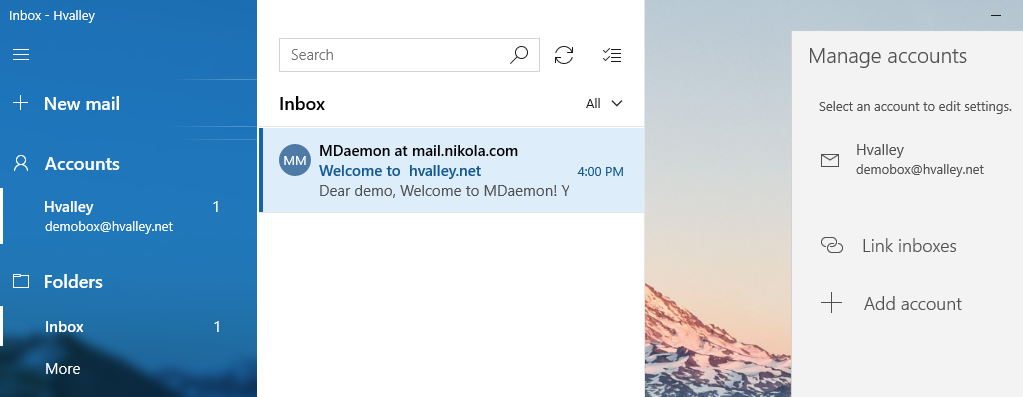
Click the ‘accounts’ frame with the person icon to enable the account management dialogue.
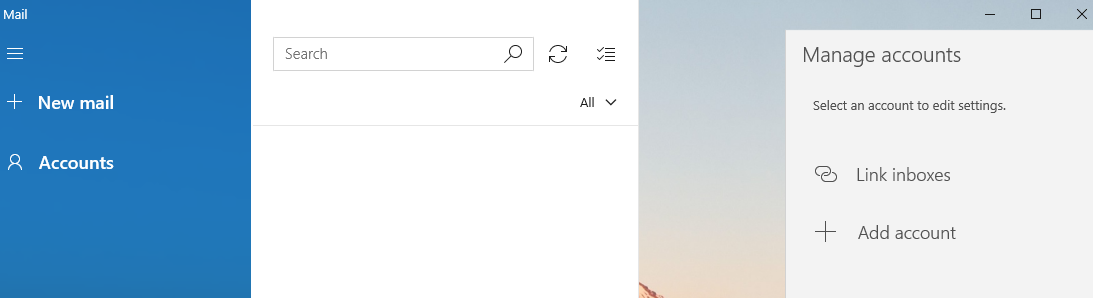
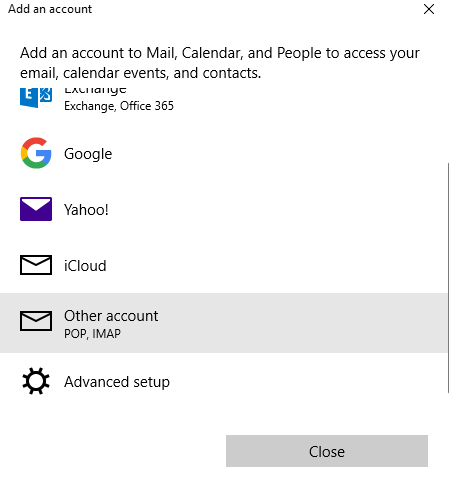
Next, ‘Add an account’ and proceed to select the ‘Other Account (POP, IMAP)’ dialogue.
Enter your mailbox name and password as shown, and the app will spin for awhile while it autodetects the correct mail settings for your mail domain.
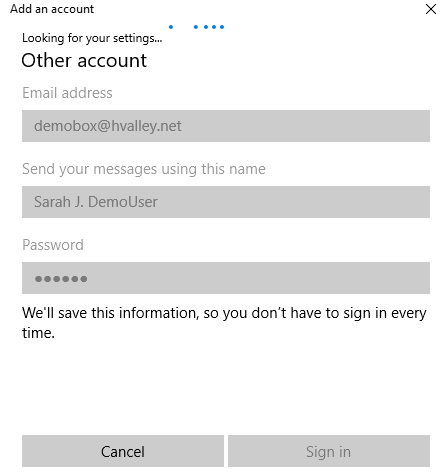
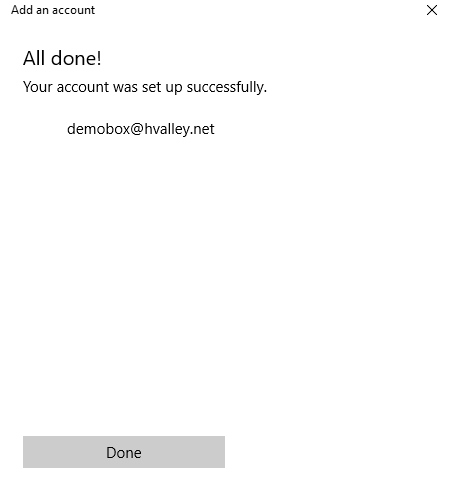
You should see a success message, indicating the account is ready for usage, if not, return to the previous step and re-enter your mailbox name and password.
A working mailbox should show your most recent messages, and display the account name in the left-hand panel.
Verifying Settings
If you are not having success with the native Windows 10 mail app, please locate the account under manage accounts.
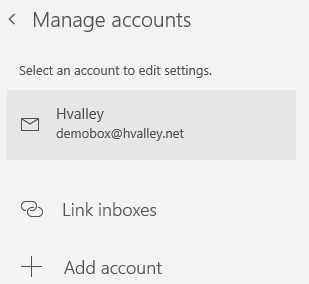
Right click the appropriate account, and select ‘Change Mailbox Sync Settings’
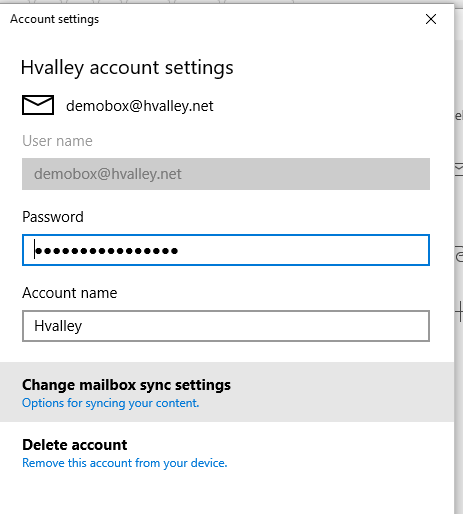
You may verify that your Windows 10 mail app is using the correct mail settings provided at our Email help page, or reference the screenshot below for working mail account settings for this app.
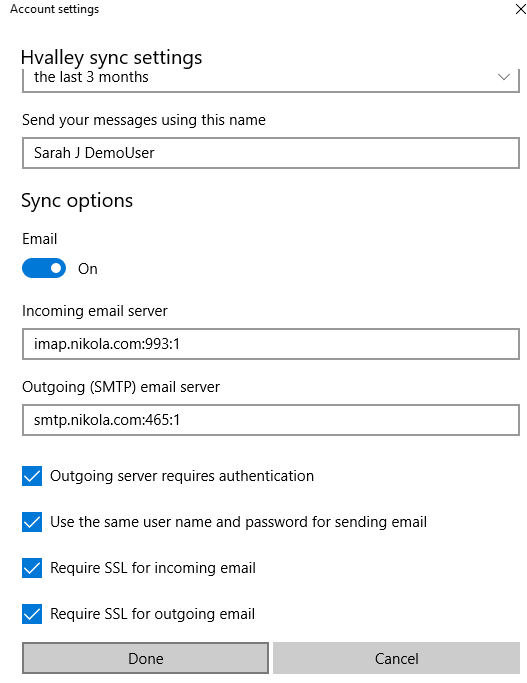
You may recognize the incoming & outgoing server address as a triplicate: the host name: port number: and a boolean of whether or not to use/not use SSL for the connection.
These values, and their usages may change in future updates of the client.